To create a product, go to the Products page from dashboard and click on +Add button from the top toolbar.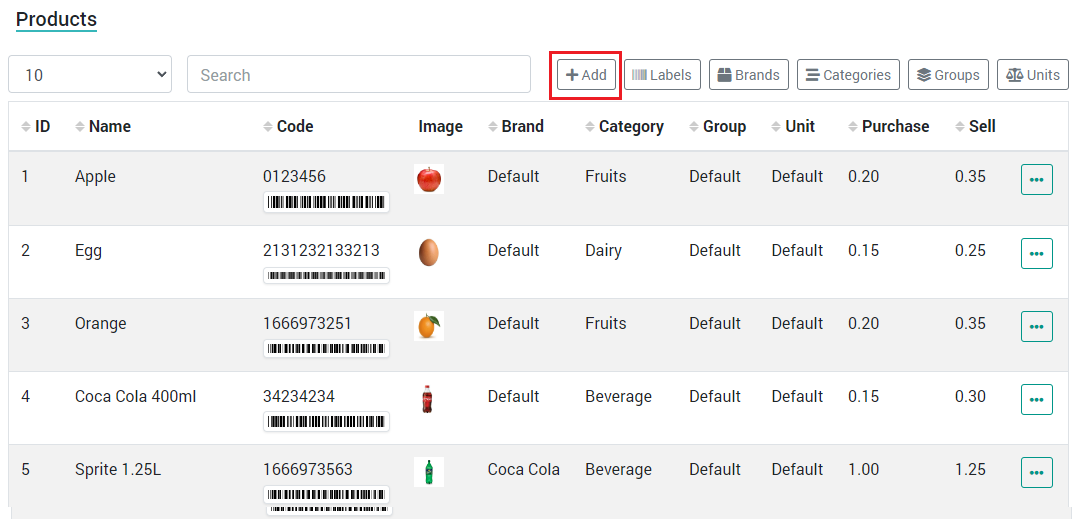
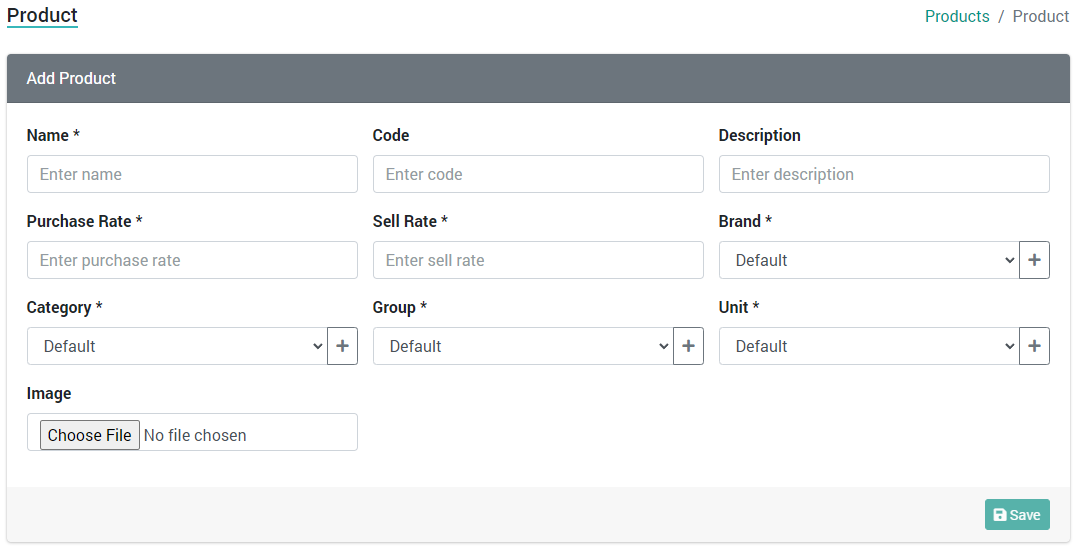
On the following page you will see the form to add a new product which has the following fields:
- Name: Name of the product.
- Code: A unique serial code for the product. If you don't provide one, a code will be generate for it so that the system can create a barcode for it.
- Description: Description of the product which appears on the invoice.
- Purchase Rate: The current rate of purchase of the product.
- Sell Rate: The current rate of sale for this product.
- Brand: Select a Brand or leave it at default. You can also create a new Brand using the + button attached to it.
- Category: Select a category or leave it at default. You can also create a new Category using the + button attached to it.
- Group: Select a Group or leave it at default. You can also create a new Group using the + button attached to it.
- Unit: Select a Unit or leave it at default. You can also create a new unit using the + button attached to it.
- Image: Select an image for the product. This helps you recognize the product quickly in the PoS section later on.
Update
To update a product, go to the Products page. From the product list, click on three dots on the right side of the product which you want to edit and a small menu will appear. Click on the Edit option to open the Product in edit mode. On the next page, change product details and save it to update the product.